-
Products
 Mobile Utilities
AVCLabs Photo Enhancer AI is a photo enhancement program that uses artificial intelligence to improve photographs. Users may upscale photographs of lesser resolutions, eliminate all sorts of noise, remove motion blurs to display more details, and colorize black and white photos properly using this powerful and finest AI image enhancer program. It also allows users to remove the background from photographs with a single click. It is possible to process photos in batches, which saves time.
AVCLabs Photo Enhancer AI is a photo enhancement program that uses artificial intelligence to improve photographs. Users may upscale photographs of lesser resolutions, eliminate all sorts of noise, remove motion blurs to display more details, and colorize black and white photos properly using this powerful and finest AI image enhancer program. It also allows users to remove the background from photographs with a single click. It is possible to process photos in batches, which saves time.
Step 1
Install and Launch AVCLabs Photo Enhancer AI
Download and install AVCLabs Photo Enhancer AI on your computer. After installation, launch the program, which will take you to the main interface.
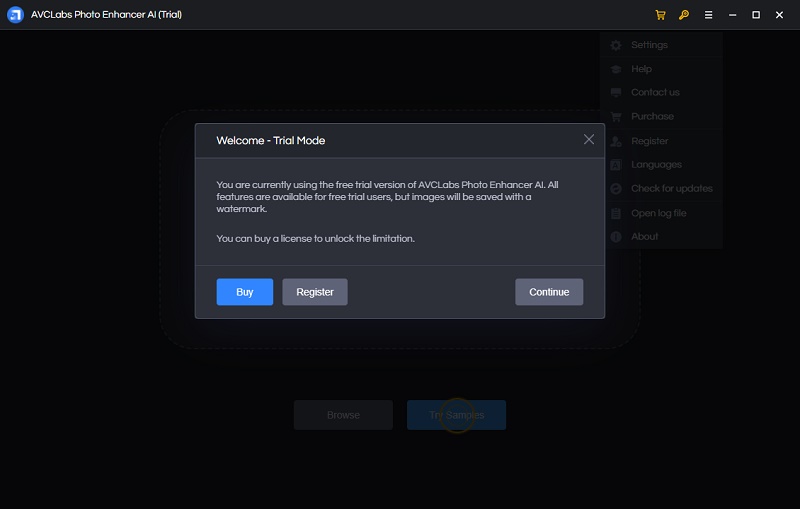
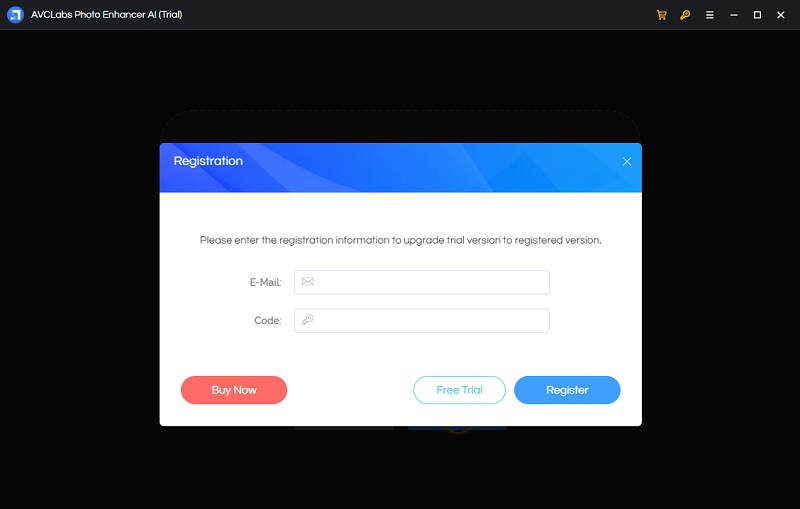
If you have already purchased the software and received a registration code, click on the "Register" button. Alternatively, access the menu icon located in the top right corner of the program and select "Register." Enter your registration information in the popup window. If you do not have an account, just continue with the trial mode.
Step 2
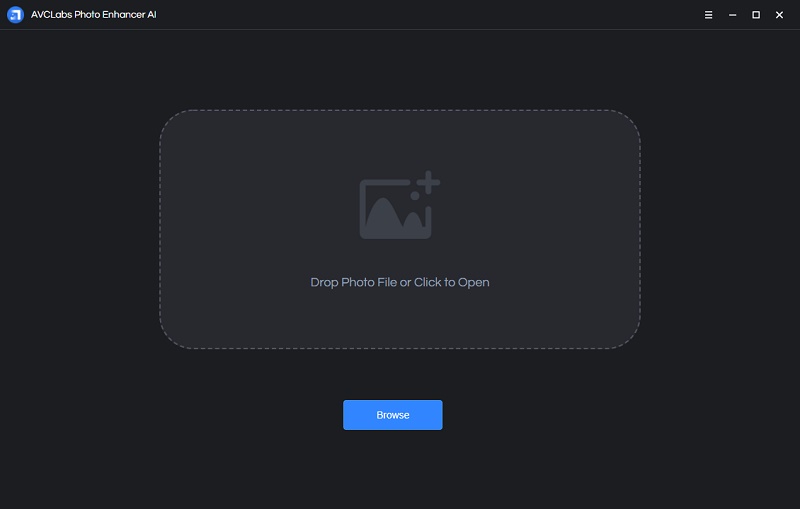
Upload Images you Want to Process
Click on the Browse button to add one image or a batch of images to the program. You can also directly drag and drop the photos you need to enhance from the computer to the program.
Step 3
Select the AI Feature
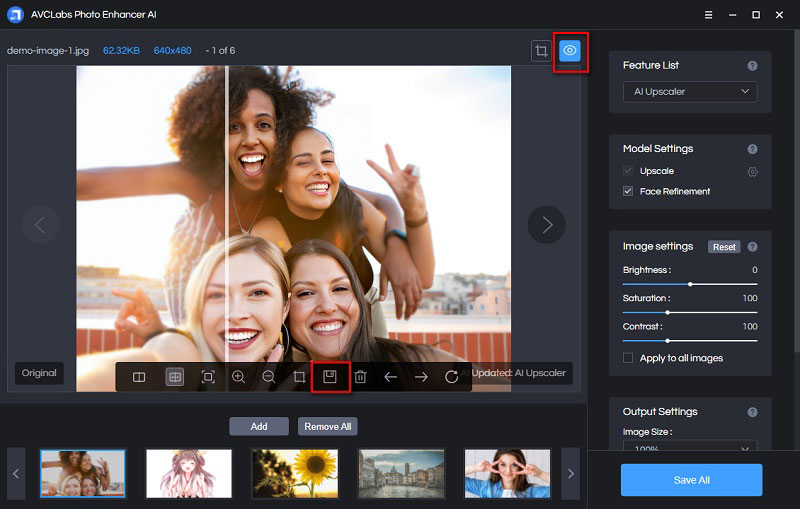
In the upper-right panel of the application, you can select your preferred AI Feature. There are currently five AI Features available:
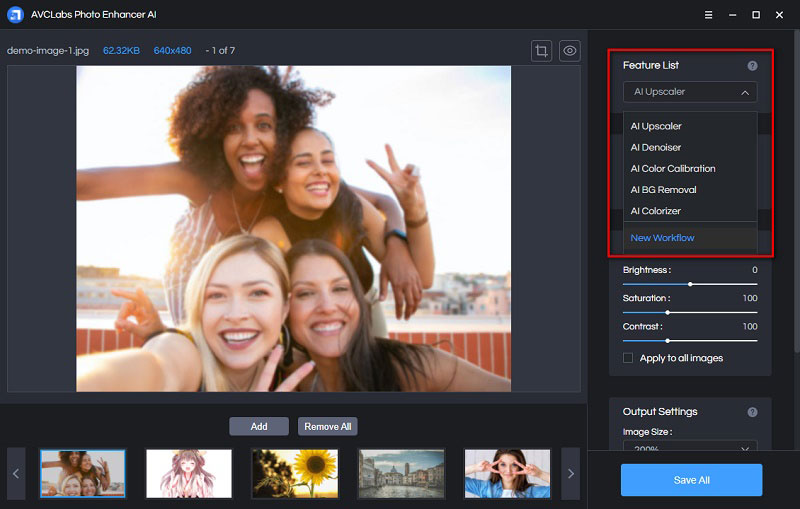
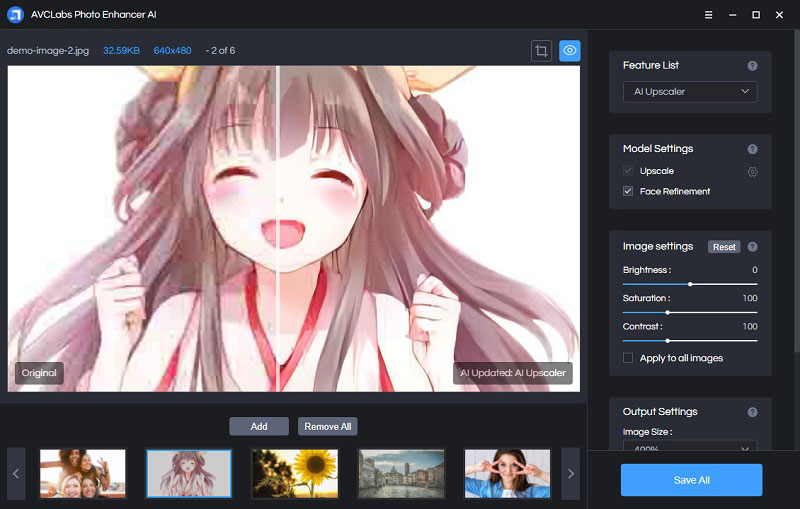
AI Upscaler: Enhance photo quality by reducing blurriness, fixing pixelation, and increasing the resolution without sacrificing quality.
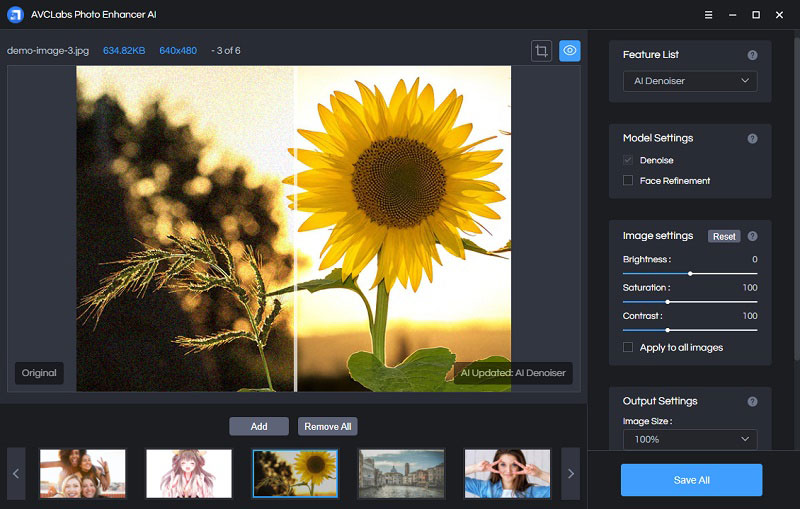
AI Denoiser: Improve photos that appear grainy or noisy, making them sharper and clearer.
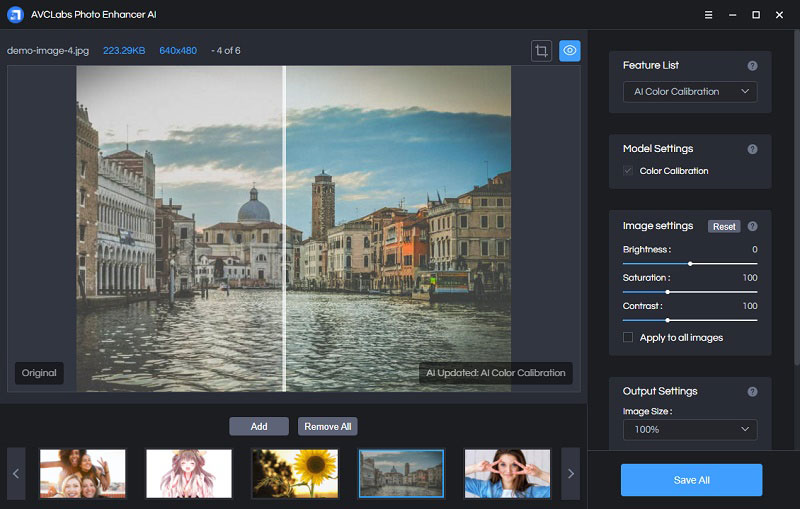
AI Color Calibration: Correct poor color in photos caused by factors such as low ambient light or high ISO settings. Enhance color and contrast with a single click.
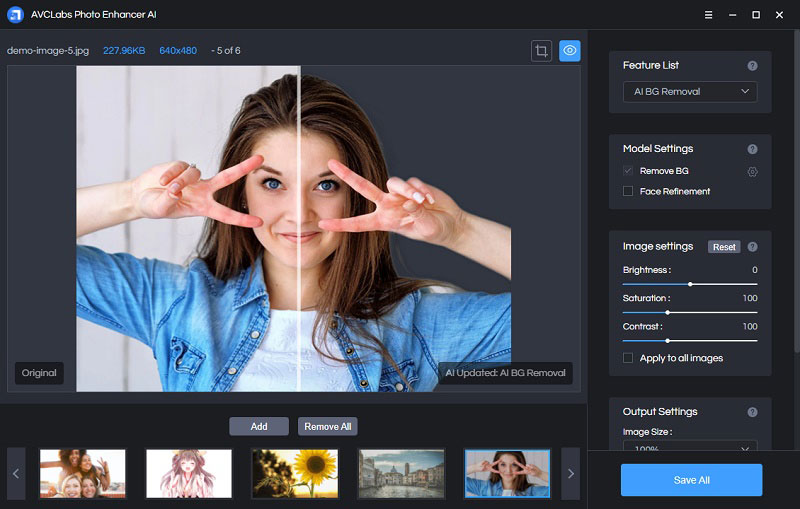
AI BG Removal: Remove the background from images, leaving a transparent background.
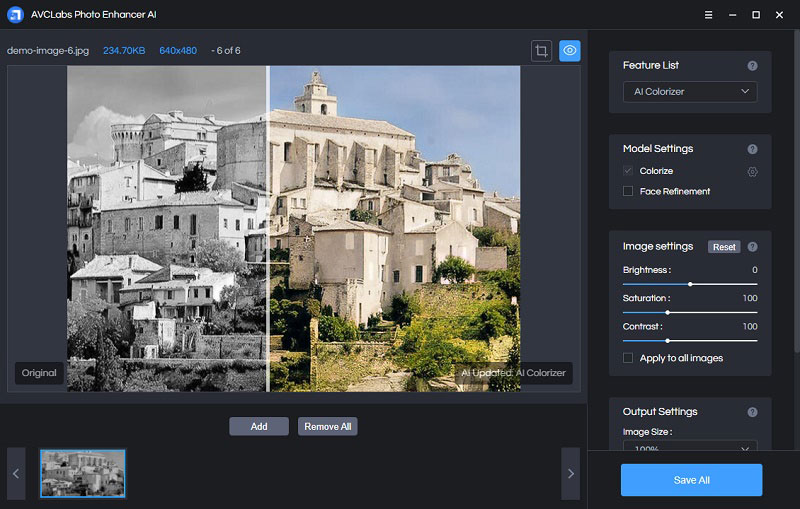
AI Colorizer: Transform black and white images into color with a single click.
Step 4
Configure Settings
Model Settings: Under the Model Settings, adjust the settings based on the AI feature you've selected. The required settings may vary for different AI features. Configure them according to your needs.
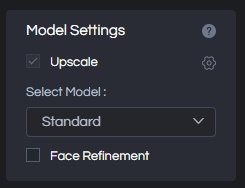
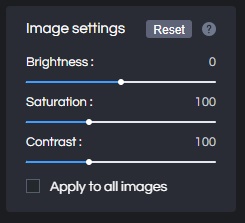
Image Settings: The section allows you to adjust the brightness, saturation and contrast manually.
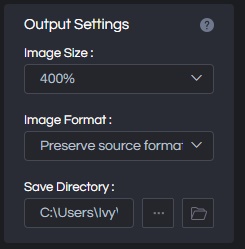
Output Settings: Specify the output image size (keep it at 100% if you don't need to upscale the image), choose the format, and set the output path.
Step 5
Preview and Start Processing Images
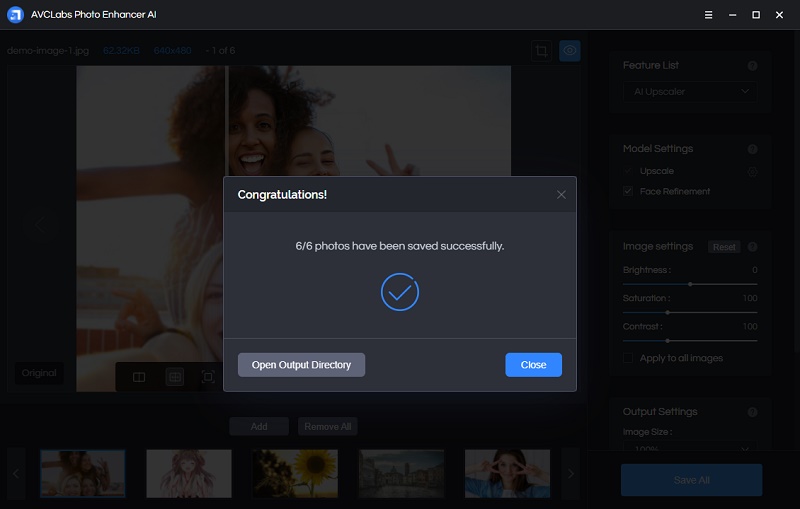
Click the "Eye" button to process and preview the image. If you are satisfied with the result, you can click the "save" button in the toolbar to save the single image or click the "Save All" button to download all processed images at once.
Finally, click the "Open Output Directory" button to locate and view the processed images.
Money Back Guarantee
100% Secured and Clean
Free Technical Support
Customer Service within 24 Hours
© 2005-2026 Anvsoft Inc.All Rights Reserved.